How to Shoot Amazing Wildlife Photography
Wildlife photography is no easy occupation. To get those fantastic, award-winning shots we’ve all grown accustomed to seeing through National Geographic and the likes, it requires an insane combination of technical skill, animal knowledge, and a dash of creativity. Oh, and luck. A lot of luck and perseverance.
With the amount there is to learn in the realm of photographing wildlife, there’s no better place to start than by joining a volunteer program where you can be guided every step of the way. All you need is the passion to drive you, to encourage you to develop, to learn and to improve, so that one day you will look back on your beginnings as a completely different photographer and artist.
Start by Learning the Basics of Wildlife Photography
If you think of the word photography, a million genres will start popping up. Studio, street, sports, fashion, food, portraiture, aerial, landscape, experimental – the list goes on and on, but they all fall under the capabilities of our devices at hand. As such, a camera is an extremely versatile tool that can enable us to capture what happens in front of us and give us an additional creative outlet.
However, with each genre comes its own unique traits and learning curves. Here are some of the very basics to know if you want to become a wildlife photographer:
Which Settings Should You Use for Wildlife Photography?
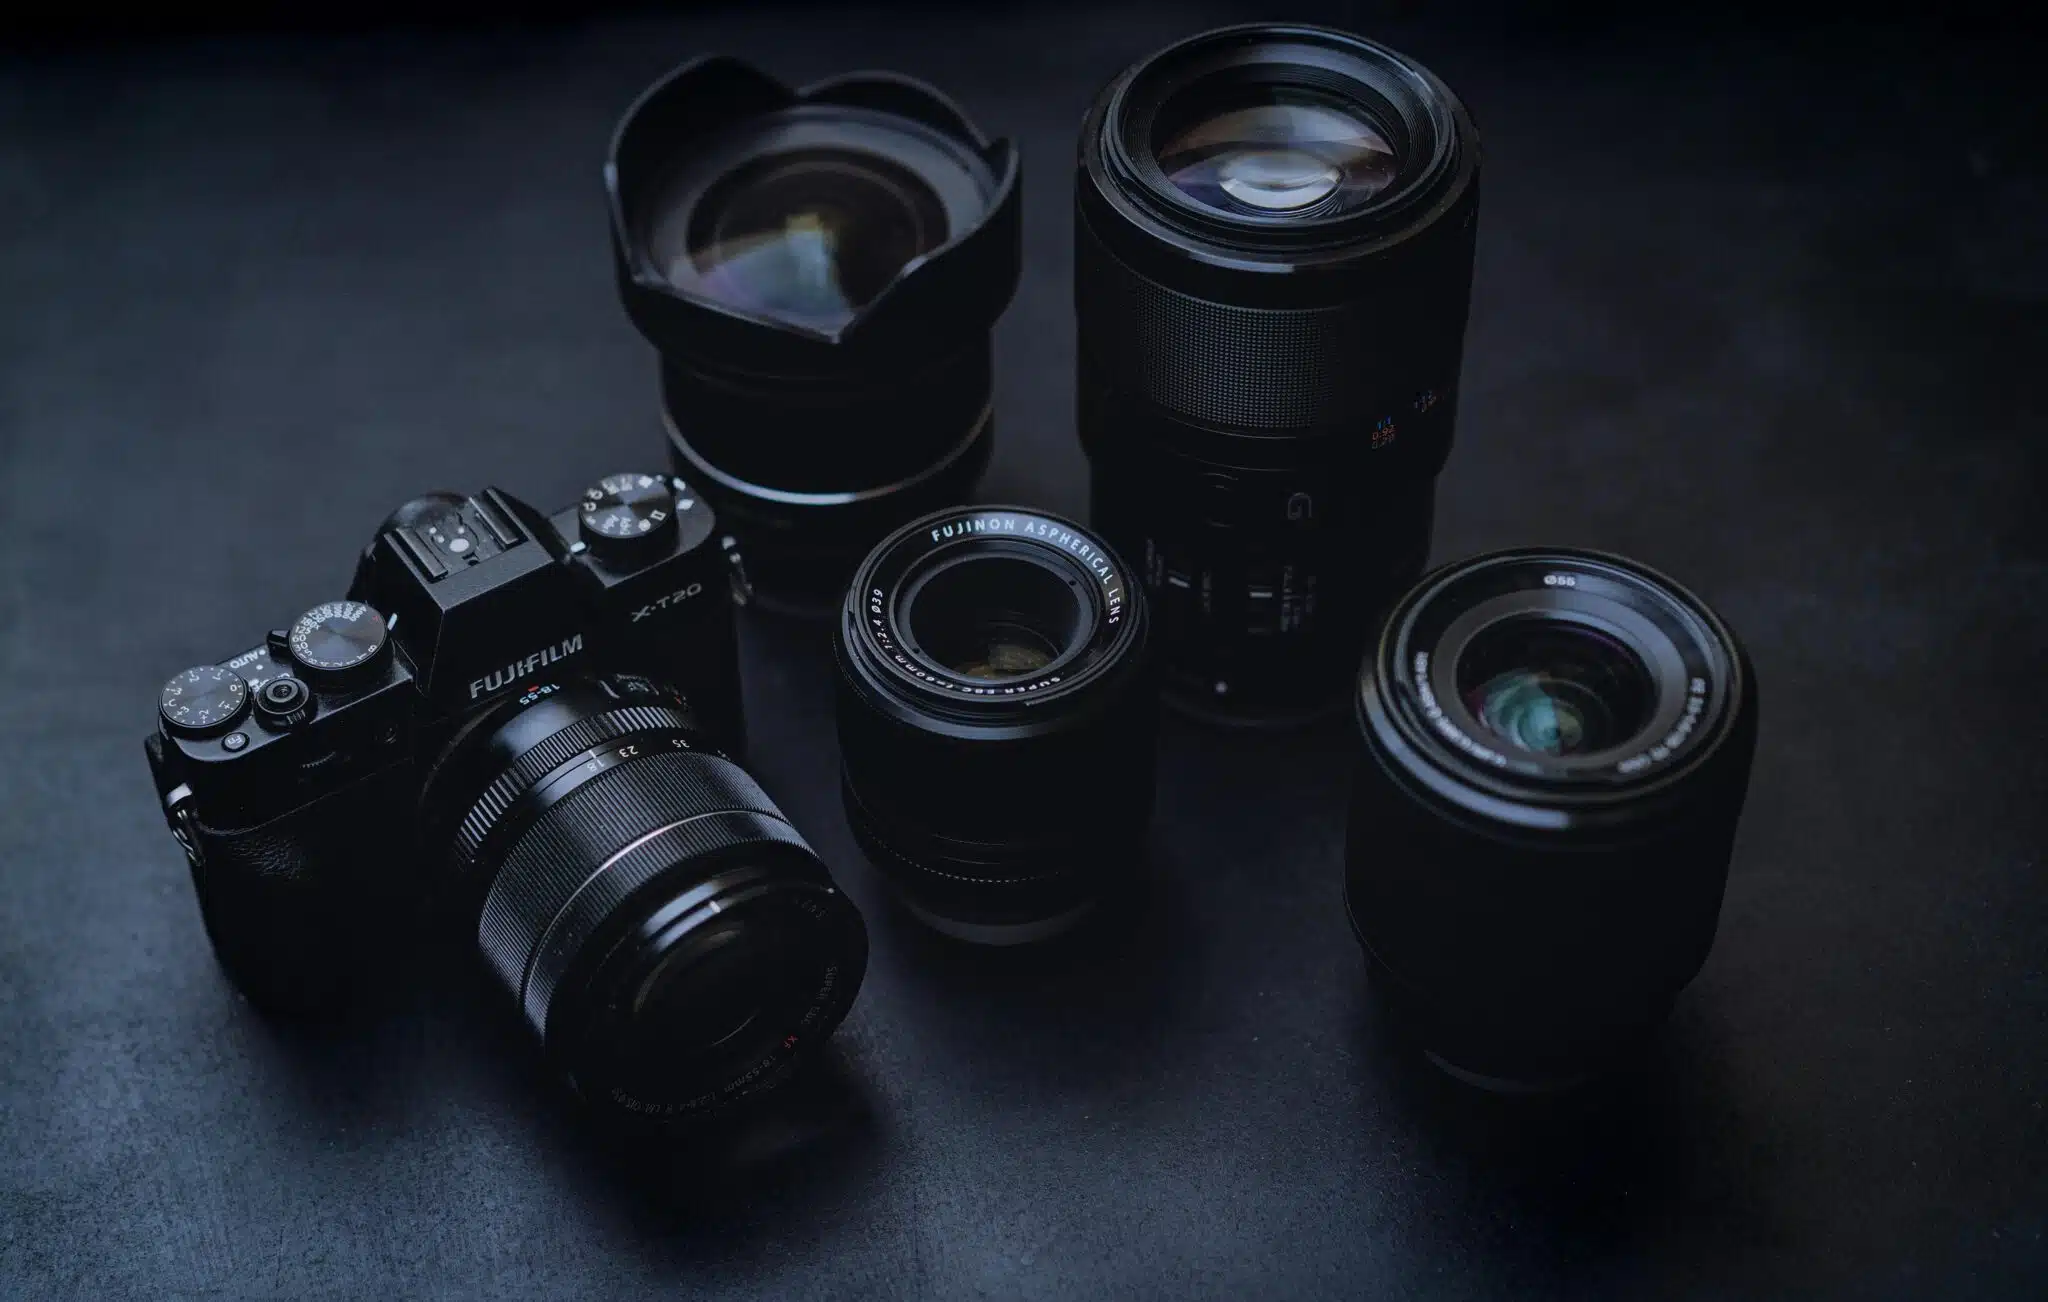
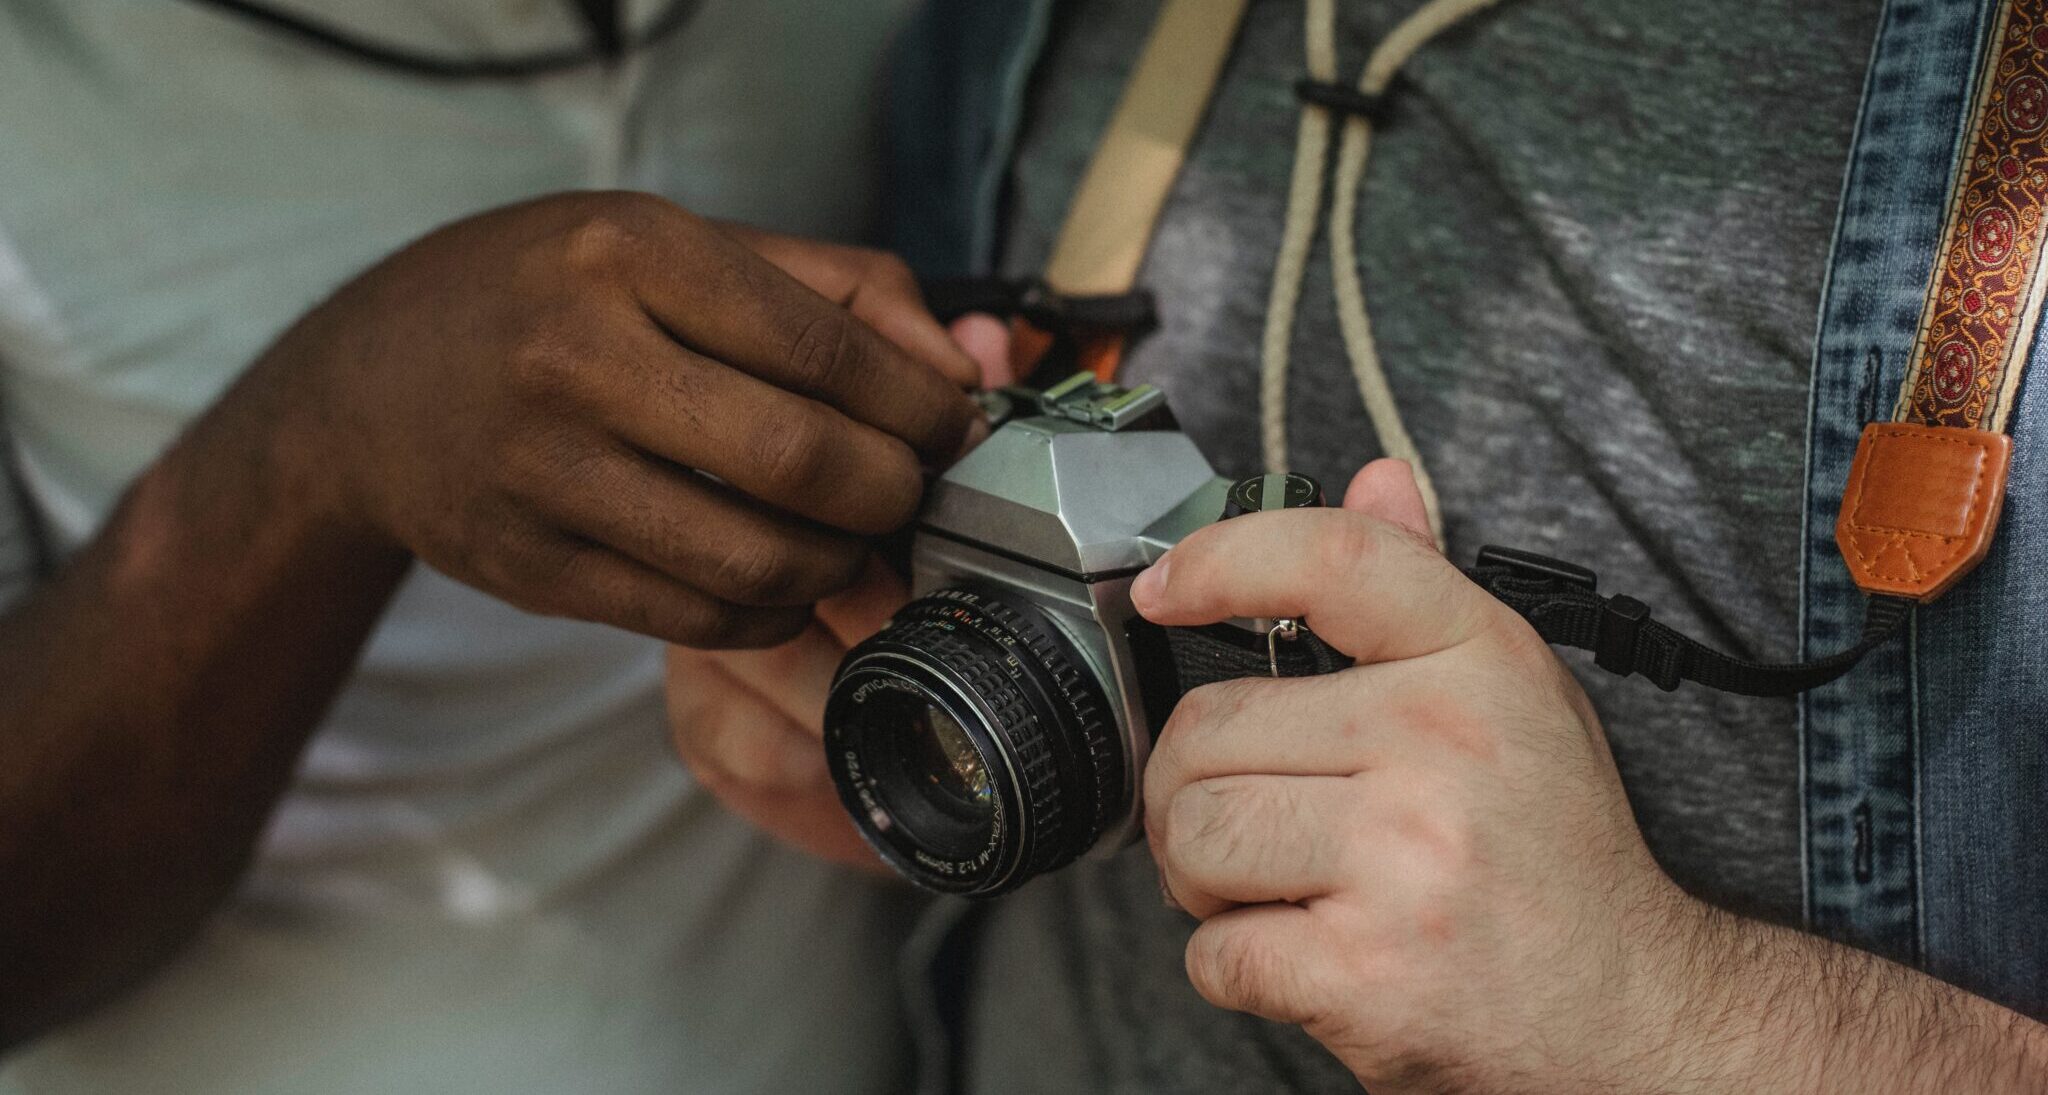
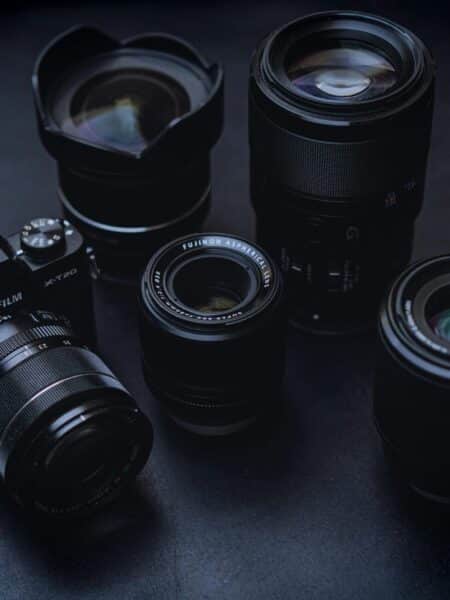
Breaking the camera down to essentials, you need a body, a lens, battery, and memory card. Make no mistake that there are numerous extra gadgets and accessories, but these are the key ingredients needed before you can proceed any further.
The camera lens is a device made primarily of different glass elements. Light travels through the lens and into the attached camera body. The camera body is the device that records the light, the memory card is what stores your photographs, and batteries are what keep it powered. Without any of these, you’re not going to be doing anything.
Automatic modes over the years have given birth to a drove of lazy photographers and it’s imperative you know how your camera works with light to better manipulate and work with any situation you’re in. This is when the exposure triangle comes in. It is a must for any photographer to learn and get to grips with. When your image is too dark or too blurry, you need to know how to correct it. So, let’s break it down! In our very short guide, you’ll learn about basic camera settings, and how you can master balancing ISO, aperture, and shutter speed with your camera.
Which Aperture is Best for Capturing Wildlife?
This is an opening inside the lens that dictates how much light is being let into the camera. We can make this opening bigger or smaller which will give us different results. For example, a smaller hole gives us a larger depth of field (a larger area of focus) but it lets in less light. A larger hole, however, gives us a much smaller depth of field (a smaller area of focus) but will let in more light.
Now, that may sound as if one image is going to be too dark and the other too bright, but this is when we step into the next part, the shutter speed.
What is the Best Shutter Speed for Wildlife Photography?
Inside the camera body is a sensor that records light and creates your image. In front of the sensor is a closed curtain, which will quickly open and close, allowing a certain amount of light to enter and hit the sensor.
We can control how quickly this curtain opens, and this is what defines our shutter speed. The less light we’re getting in, the longer our shutter speed has to be, whereas when we’re getting lots of light, we’ll have to make it quicker.
What ISO Should I Use When Photographing Wildlife?
If, for example, it’s a beautifully sunny day, then we know we’re getting lots of light coming into our sensor and can leave the sensitivity low. This will give us cleaner and higher-quality looking results. On the flip side, if we’re photographing after sunset or in a dark room, then we’ll have to increase our sensitivity to make more use of the available lighting conditions. This sounds great, but ultimately, this is what causes noise or grain; where images become broken up and dotty. This sensitivity needs to be adjusted a lot because one setting will never work for different scenarios
You should always try to keep your ISO as low as possible, but as high as necessary. Now, how do these three elements work together? It’s a balancing act. Change one and you inevitably have to change another. If you raise your ISO (sensor sensitivity) you will be able to get a faster shutter speed. If you open up your aperture, you will be able to bring your ISO down.
Why is Wildlife Photography So Great?
There are no perfect settings, it’s all situation-dependent and getting the best performance out of your camera as well as yourself. It’s a game of repetition, learning through failure (messing up your exposure on a rare wild dog sighting will only help you never to make that same mistake again!), and being persistent. Above all else, remember why you started this venture into wildlife photography.
Read more from our volunteer stories, and check out the African Impact Instagram page to see what our photography volunteers have been getting up to in Africa!
Stay up to date and never miss out.
To stay up to date with our latest volunteer project developments, news and promotions. No spam, just high quality content.
"*" indicates required fields
Other recent blog posts

5 Best Projects for Volunteer Wildlife Conservation in Africa
Basic Camera Settings for Wildlife Photography
